Self-Hosted CI/CD Stack - Jenkins, SonarQube, Nexus Operations
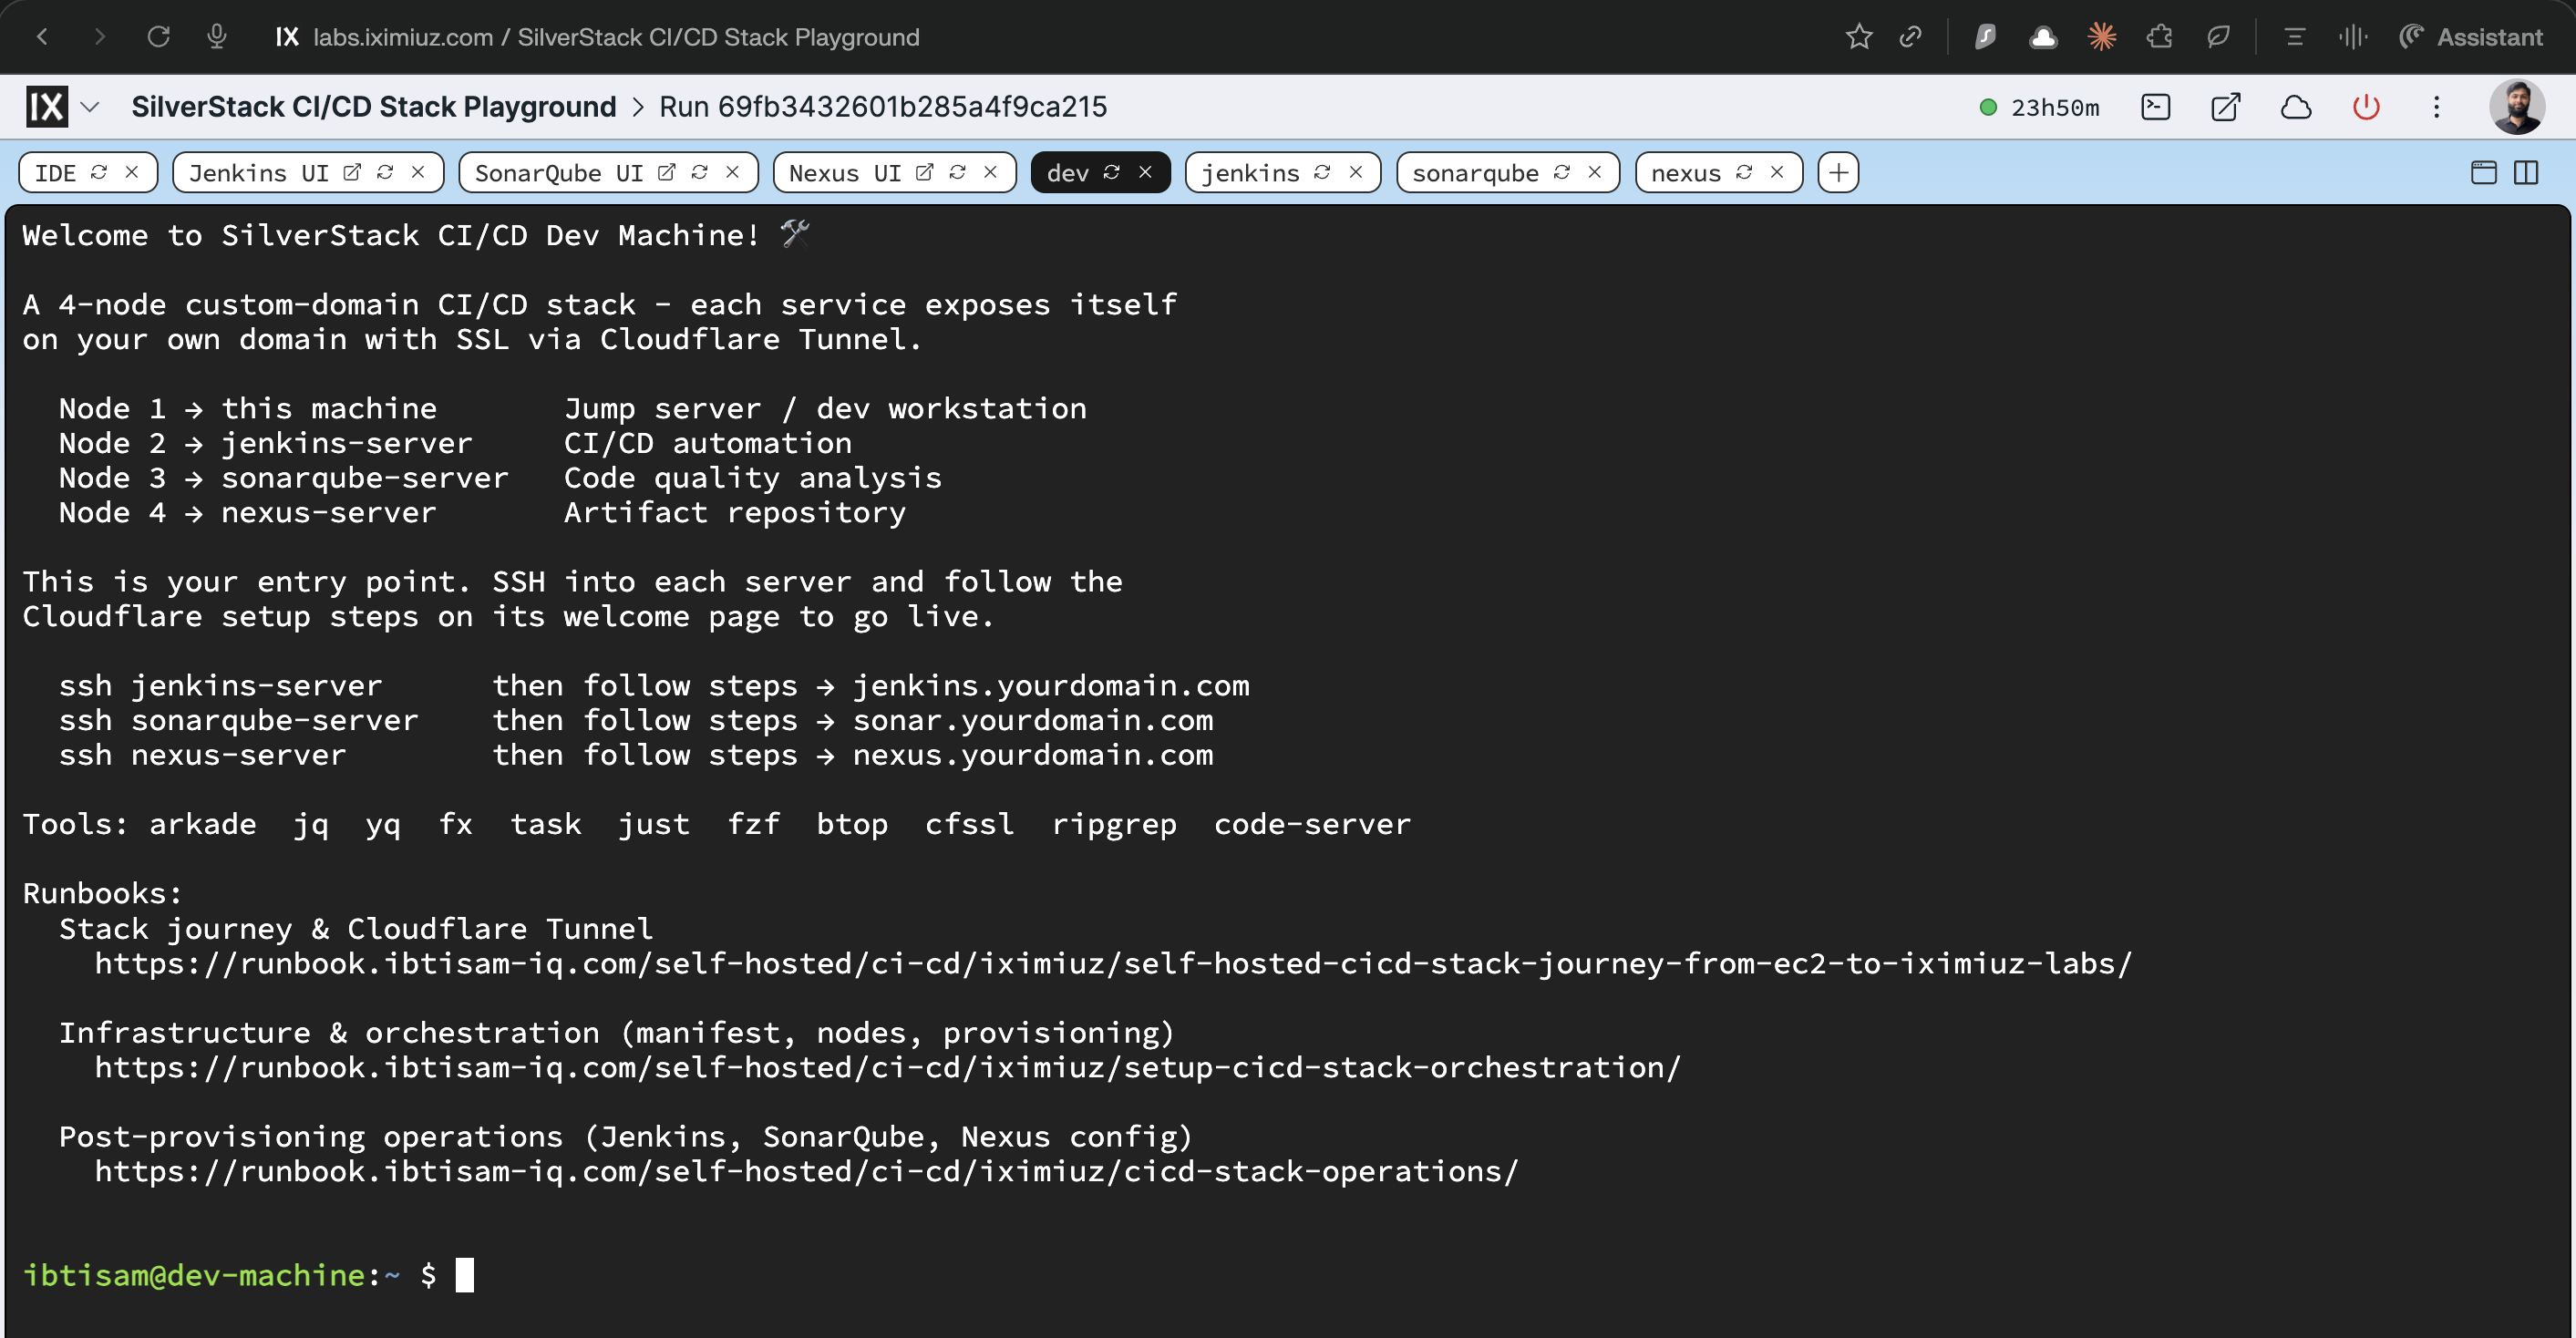
This runbook covers the post-provisioning steps that turn the SilverStack CI/CD stack into a fully functional DevSecOps platform. It assumes the infra is already running (see Setup - CI/CD Stack Orchestration) and Cloudflare Tunnels are live with valid SSL on:
Prerequisites and Assumptions
- The CI/CD stack playground is running from
iximiuz/manifests/cicd-stack.ymland all four nodes are reachable from Dev Machine. - All per-service systemd health checks have passed -
lab-init, service daemon, Nginx areactiveon each node and/healthreturns 200. cloudflaredis running onjenkins-server,sonarqube-server, andnexus-serverwith the Cloudflare dashboard's tunnel routes configured tolocalhost:80.
Phase 1 - Jenkins Post-Setup
All Jenkins operations are performed on jenkins-server unless noted otherwise.
Step 1 - Install Pipeline Tools on the Jenkins OS
The Jenkins rootfs image includes install-pipeline-tools on PATH. Run it once from an SSH session on jenkins-server:
This installs the following tools system-wide on the Jenkins server OS (not in Jenkins UI):
| Tool | Version |
|---|---|
| Maven | 3.9.15 |
| Node.js (LTS) + npm | 22.x |
| Python | 3.12 |
| Docker | 29.x |
| Trivy | 0.69.3 (pinned) |
| AWS CLI | v2 |
| kubectl | 1.35 |
| Helm | 4.1.4 |
| Terraform | 1.14.x |
| Ansible core | 2.20 |
All tools land on system PATH - Jenkins pipelines can use them via sh steps without any UI configuration.
Step 2 - Unlock Jenkins and Complete Setup Wizard
- Open the Jenkins UI tab or navigate to
https://jenkins.ibtisam-iq.com. - Jenkins prompts for the initial admin password. Retrieve it:
- Complete the setup wizard:
- Install suggested plugins (or skip for manual selection later)
- Create the first admin user
- Set Jenkins URL to
https://jenkins.ibtisam-iq.com- this is required for SonarQube webhooks and other callbacks
Step 3 - Unlock the Built-in Node
By default Jenkins restricts the built-in node to 0 executors. Enable it:
Manage Jenkins → Nodes → Built-In Node → Configure
- Number of executors:
2
Step 4 - Install Jenkins Plugins
After the setup wizard is complete and an admin user exists:
The script:
- Reads
jenkins.model.JenkinsLocationConfiguration.xmlto auto-detect the configured Jenkins URL. If Cloudflare tunnel is not yet configured, it falls back to prompting forhttp://localhost:8080. - Prompts interactively for the admin username and password (password entry is hidden; never written to disk).
- Installs all plugins via
jenkins-cli.jarover WebSocket (-webSocketflag, which bypasses reverse-proxy origin checks). - Triggers a safe restart so all plugins become active without interrupting running builds.
This step must run after the setup wizard is completed. The initial admin password (
initialAdminPassword) is deleted by Jenkins as soon as the wizard finishes - the script uses new admin credentials, not the initial password.
To skip a plugin, comment out its line in /usr/local/bin/install-plugins. To add one, append its official plugin ID.
Phase 2 - Credentials
All credentials are created under: Manage Jenkins → Credentials → System → Global credentials (unrestricted) → Add Credentials
Credential 1 - SonarQube Token
First, create a dedicated CI user in SonarQube:
-
In SonarQube UI: Administration → Security → Users → Create User
- Login:
jenkins-ci - Name:
Jenkins CI - Password: strong password
- Login:
-
Log in as
jenkins-ci, then: My Account → Security → Generate Token- Name:
jenkins-token - Type:
User Token
- Name:
-
Add to Jenkins:
Credential 2 - GitHub
Create a GitHub PAT: Settings → Developer settings → Personal access tokens → Tokens (classic)
- Scopes:
repo,read:org,workflow
Add to Jenkins:
Kind:     Username with password
Username: ibtisam-iq
Password: ghp_xxxxxxxxxxxxxxxxxxxxxxxxxxxx
ID:       github-creds
Credential 3 - Docker Hub
Create a Docker Hub access token (not account password): Account Settings → Security → New Access Token
- Name:
jenkins-ci - Scopes: Read, Write
Add to Jenkins:
Kind:     Username with password
Username: mibtisam
Password: dckr_pat_xxxxxxxxxxxxxxxxxxxx
ID:       docker-creds
Credential 4 - Nexus
Create a dedicated CI user in Nexus: Security → Users → Create local user
- User ID:
jenkins-ci - Password: strong password
- Roles:
nx-admin+nx-anonymous
Add to Jenkins:
Credential 5 - GHCR
Create a GitHub PAT with write:packages scope.
Add to Jenkins:
Kind:     Username with password
Username: ibtisam-iq
Password: ghp_xxxxxxxxxxxxxxxxxxxxxxxxxxxx
ID:       ghcr-creds
If
github-credswas created with a PAT that already haswrite:packages, reuse it and skip this step.
Phase 3 - Tool Configuration
Step 5 - Register SonarQube Scanner in Jenkins
The only tool requiring explicit Jenkins UI registration is the SonarQube Scanner (all other tools are on OS PATH):
Manage Jenkins → Tools → SonarQube Scanner installations → Add SonarQube Scanner
Maven, Docker, kubectl, Helm, Terraform, Ansible, AWS CLI, and other binary tools do not need entries here - Jenkins discovers them via PATH.
Phase 4 - Jenkins ↔ SonarQube Integration
Step 6 - Add SonarQube Server in Jenkins
Manage Jenkins → System → SonarQube servers → Add SonarQube
Name:               sonar-server
Server URL:         https://sonar.ibtisam-iq.com
Server auth token:  sonarqube-token   ← the Secret text credential ID from Phase 2
Pipelines can now call withSonarQubeEnv('sonar-server') to inject scanner configuration automatically.
Step 7 - Configure SonarQube Webhook
SonarQube must notify Jenkins when analysis completes so waitForQualityGate() can function.
In SonarQube UI: Administration → Configuration → Webhooks → Create
Name:   Jenkins
URL:    https://jenkins.ibtisam-iq.com/sonarqube-webhook/
Secret: (optional HMAC shared secret)
The trailing slash in the webhook URL is mandatory. Omitting it causes SonarQube to fail posting the analysis result back to Jenkins, and
waitForQualityGate()will hang indefinitely until it times out.
Phase 5 - Nexus Maven Settings
Step 8 - Configure settings.xml via Config File Provider
Use the Config File Provider plugin to supply Maven with Nexus credentials without hardcoding them in source.
Manage Jenkins → Managed files → Add a new Config → Global Maven settings.xml
- Set ID:
maven-settings
Use the full settings document:
<?xml version="1.0" encoding="UTF-8"?>
<settings xmlns="http://maven.apache.org/SETTINGS/1.2.0"
          xmlns:xsi="http://www.w3.org/2001/XMLSchema-instance"
          xsi:schemaLocation="http://maven.apache.org/SETTINGS/1.2.0
          https://maven.apache.org/xsd/settings-1.2.0.xsd">
  <servers>
    <server>
      <id>maven-releases</id>
      <username>jenkins-ci</username>
      <password>nexus-password</password>
    </server>
    <server>
      <id>maven-snapshots</id>
      <username>jenkins-ci</username>
      <password>nexus-password</password>
    </server>
  </servers>
</settings>
Reference in Jenkins pipelines:
Common Pitfalls
Pitfall 1 - Missing XML document wrapper
A bare <servers>...</servers> block without the XML preamble and <settings> root element is invalid. Maven silently ignores it and artifact deployment fails with 401 Unauthorized.
<!-- Wrong -->
<servers>
  <server>...</server>
</servers>

<!-- Correct: use the full document above -->
Pitfall 2 - Unescaped special characters in passwords
Passwords containing &, <, >, ", or ' must be XML-escaped:
| Character | Escaped form |
|---|---|
& | & |
< | < |
> | > |
" | " |
' | ' |
Example: <password>P@ss&Word!</password>
Phase 6 - Nexus Docker Registry
Step 9 - Create Docker (Hosted) Repository
Nexus UI: Settings → Repository → Repositories → Create repository → docker (hosted)
Because Nexus is behind Cloudflare Tunnel and fronted by Nginx, use path-based routing instead of dedicated port connectors:
Docker clients then use the repository name in the URL path:
# Push
docker push nexus.ibtisam-iq.com/docker-hosted/java-monolith:1.0.0

# Pull
docker pull nexus.ibtisam-iq.com/docker-hosted/java-monolith:1.0.0
Step 10 - Enable Docker Bearer Token Realm
Docker authentication requires the Bearer Token realm:
Nexus UI: Security → Realms
Move Docker Bearer Token Realm from Available to Active → Save.
Without this,
docker login nexus.ibtisam-iq.comfails with401even with correct credentials.
Phase 7 - Stack Readiness Checklist
After completing all phases above, verify the final state:
| What | Expected Status |
|---|---|
| Jenkins UI with SSL | https://jenkins.ibtisam-iq.com returns 200 |
| SonarQube UI with SSL | https://sonar.ibtisam-iq.com returns 200 |
| Nexus UI with SSL | https://nexus.ibtisam-iq.com returns 200 |
| 10 pipeline tools on PATH | mvn, node, docker, trivy, kubectl, helm, terraform, ansible, aws available via which |
| Jenkins plugin bundle | Installed via sudo install-plugins |
| Credentials | sonarqube-token, github-creds, docker-creds, nexus-creds, ghcr-creds present |
| SonarQube Scanner | sonar-scanner configured in Jenkins Tools |
| SonarQube server | sonar-server configured in Jenkins System |
| SonarQube webhook | Points to /sonarqube-webhook/ on Jenkins (trailing slash present) |
| Nexus Maven settings | maven-settings Config File present and valid XML |
| Nexus Docker repository | docker-hosted created with path-based routing |
| Docker Bearer Token Realm | Active in Nexus |
The stack is ready to run pipelines: build with Maven/Node/Python, run SonarQube analysis and enforce quality gates, publish artifacts to Nexus, and push container images to GHCR.
Related
- Setup - CI/CD Stack Orchestration - infra, topology, manifest, Dev Machine
- Journey runbook - NAT, Cloudflare Tunnel, rootfs evolution
- Jenkins Rootfs runbook
- SonarQube Rootfs runbook
- Nexus Rootfs runbook